Oklahoma City’s premier fence company
Cedar privacy Fence, Ameristar, ornamental and pool fencing, and chain link—installed with commercial-grade posts, driven 42” in the ground for strength, straight lines, and long-term durability.


9 Years Running!
Get your free Quote Today!
Protect your investment!
add Wood Defender Stain to your fence quote!
Stain color: Coffee Brown

What is the Red River Fence difference?
QUALITY!
We use #1 Grade true 7/8” thick Inland Red Cedar fence pickets, Kiln-Dried Selkirk (TOP), compared to the nominal 5/8“ picket(Bottom), which is actually 7/16” - 1/2”
That extra 3/8” of thickness adds a substantial amount of life to our wood privacy fences and helps to prevent warping, cupping, and splitting.
**All wood; especially lumber exposed to the elements, has a chance to crack or split due to temperature variations and moisture. We recommend staining your new fence to prevent weathering.**
Note:
Many fence contractors and suppliers have resorted to finding cheaper alternatives, such as “Japanese Cedar” (which isn’t cedar at all) and something they are calling “Native Cedar”. Native Cedar is milled from the North American Cedar trees that you see daily around Oklahoma and most of the United States. Its smell is pleasant; however, it is NOT recommended for outdoor construction due to warping, splitting, and cupping issues. These issues apply to Japanese Cedar as well. Japanese Cedar is imported from Japan and generally smells like ant poison. This is because all imported wood to North America (from overseas) must be fumigated before it can legally be imported. These laws protect North America from non-native, invasive species like beetles and woodworms. Be careful of these substitutes as they are generally low quality, very thin, and have a very short life. Read all about it in our blog.

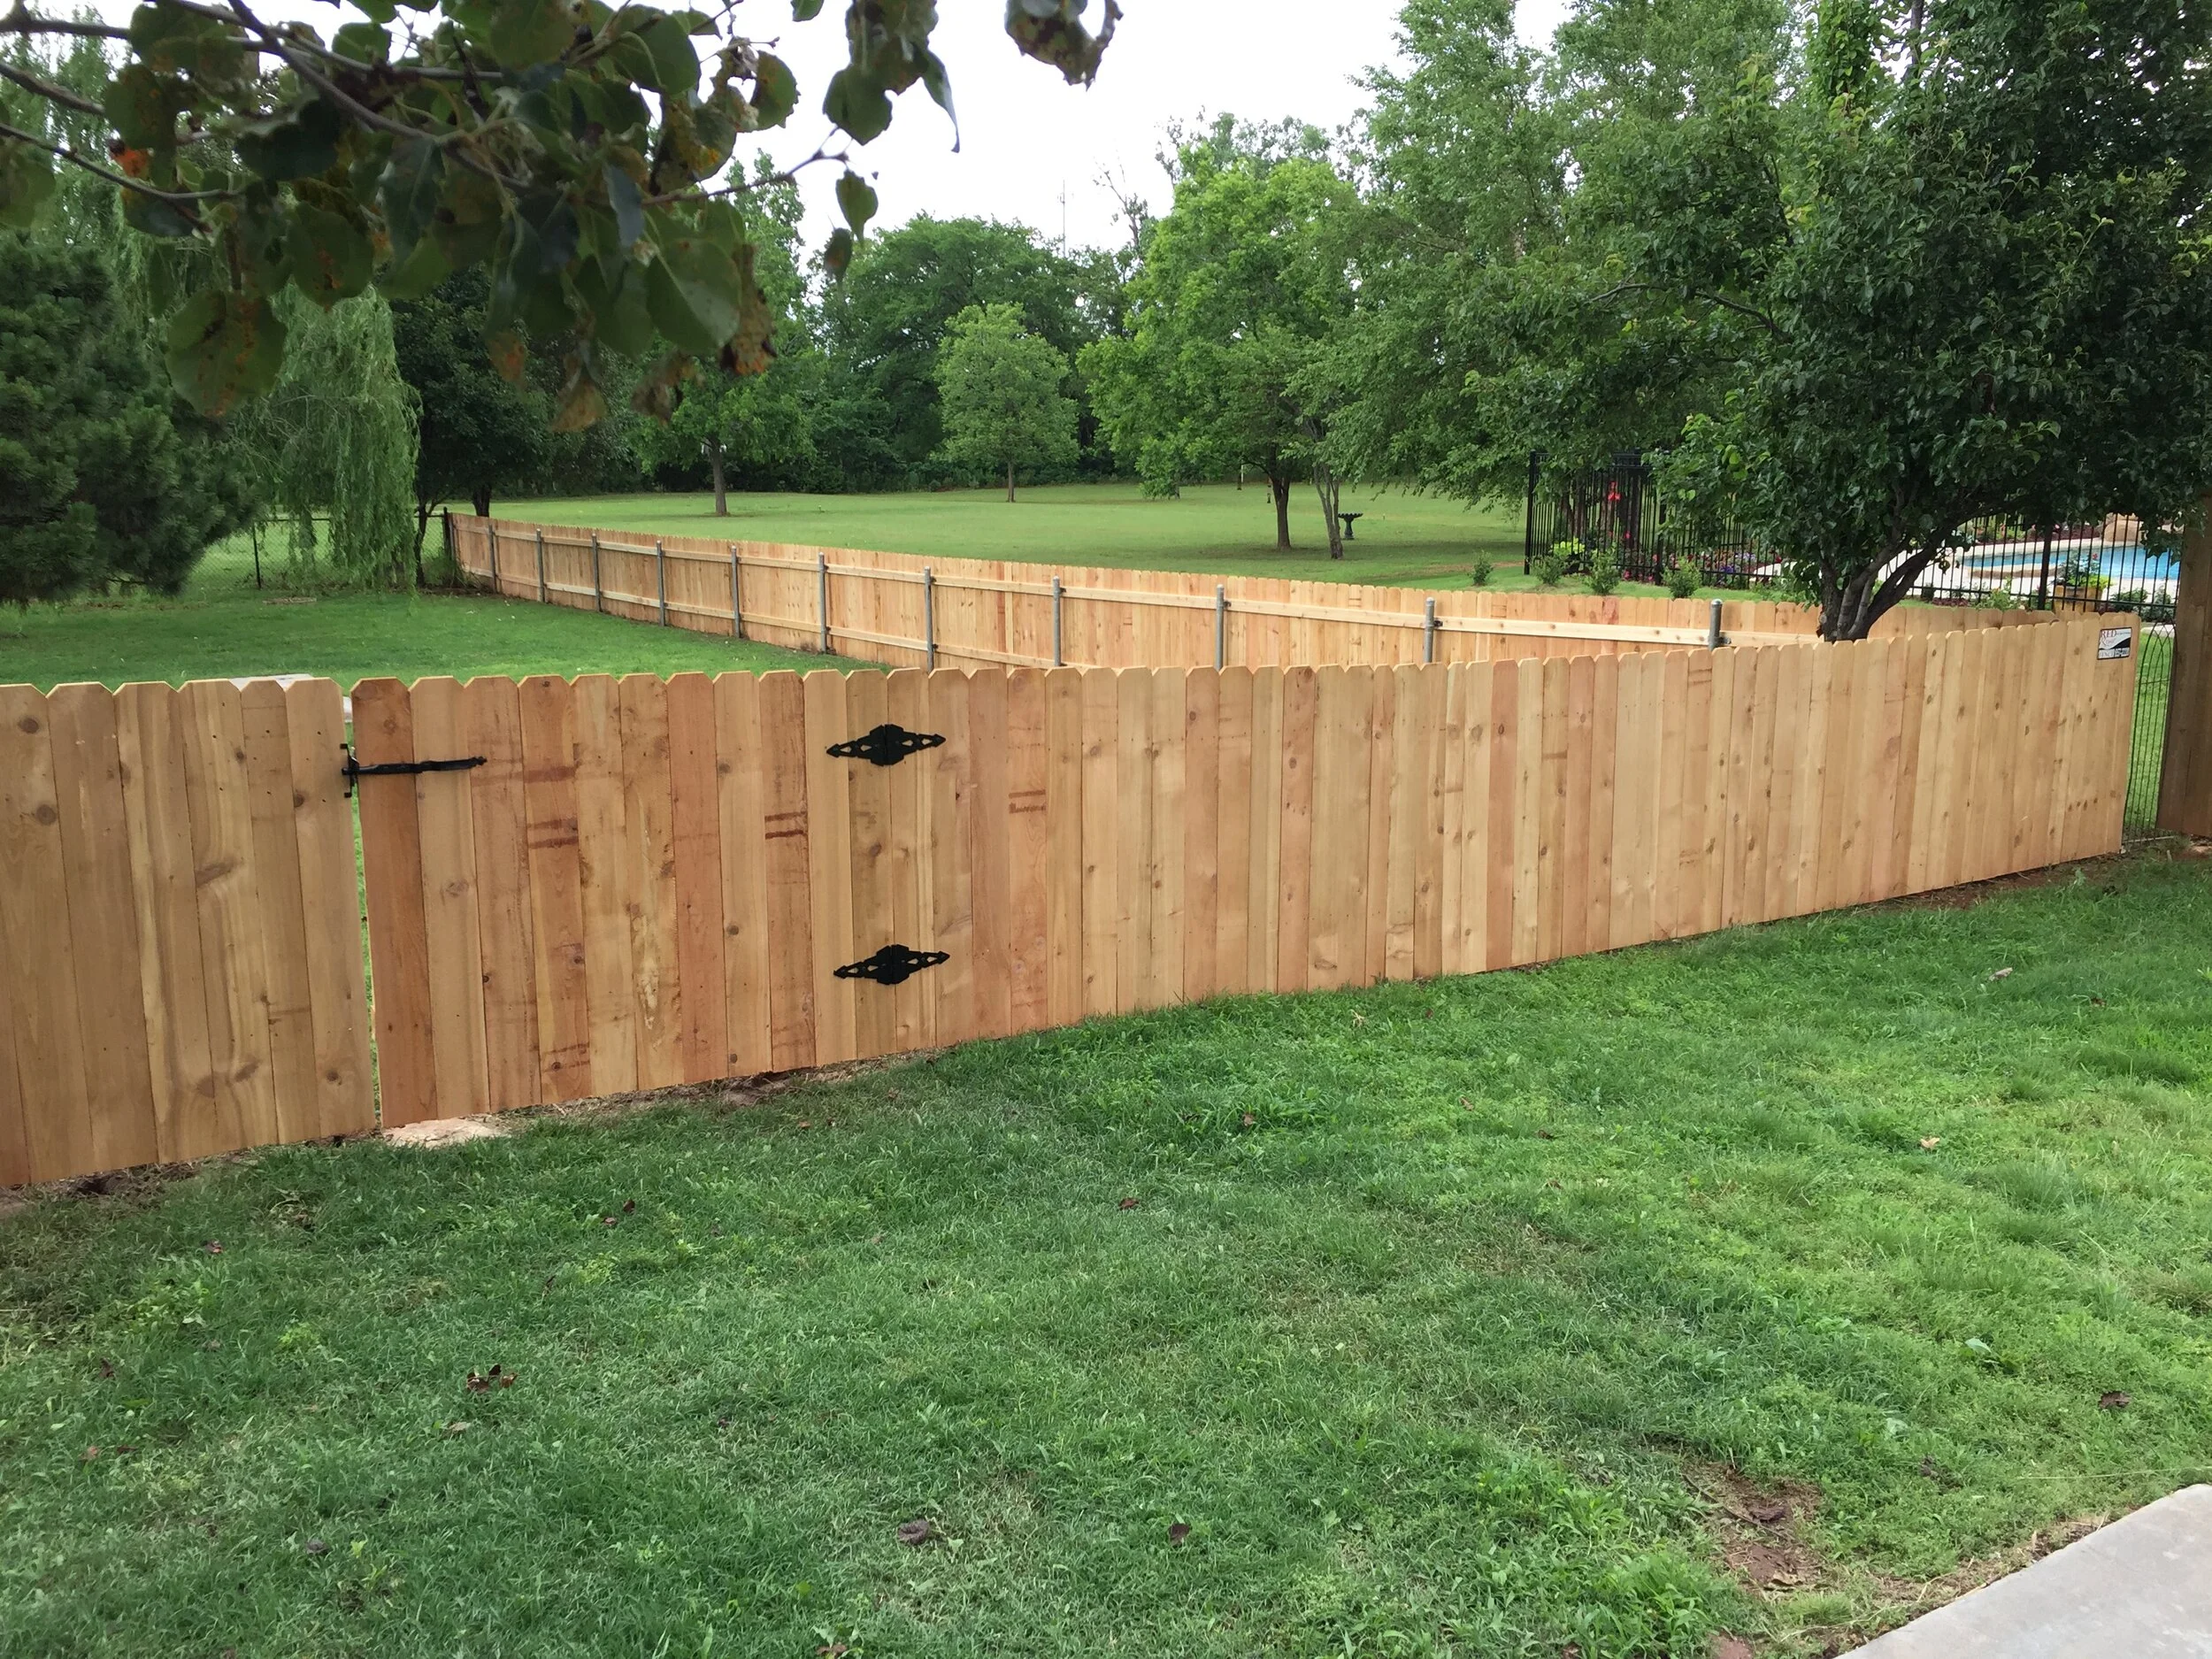
Custom arched gate and arbor
6’ Tall 1x6 Board on Board Cap & Trim
Upgrades:
Board-on-board, Cap & Trim, Arched Gate, Gate Arbor, Stain(Leatherwood)

Backyard with wooden fence and brick house, featuring a metal gate, ornamental grass, a pink flamingo lawn decoration, and a stack of garden supplies.

Wooden fence with gate between red brick buildings in a suburban backyard.

Backyard with freshly mowed grass, a wooden fence, shrubs along the border, and a coiled hose on the ground.

Wooden gate and fence with driveway, surrounded by trees and houses.

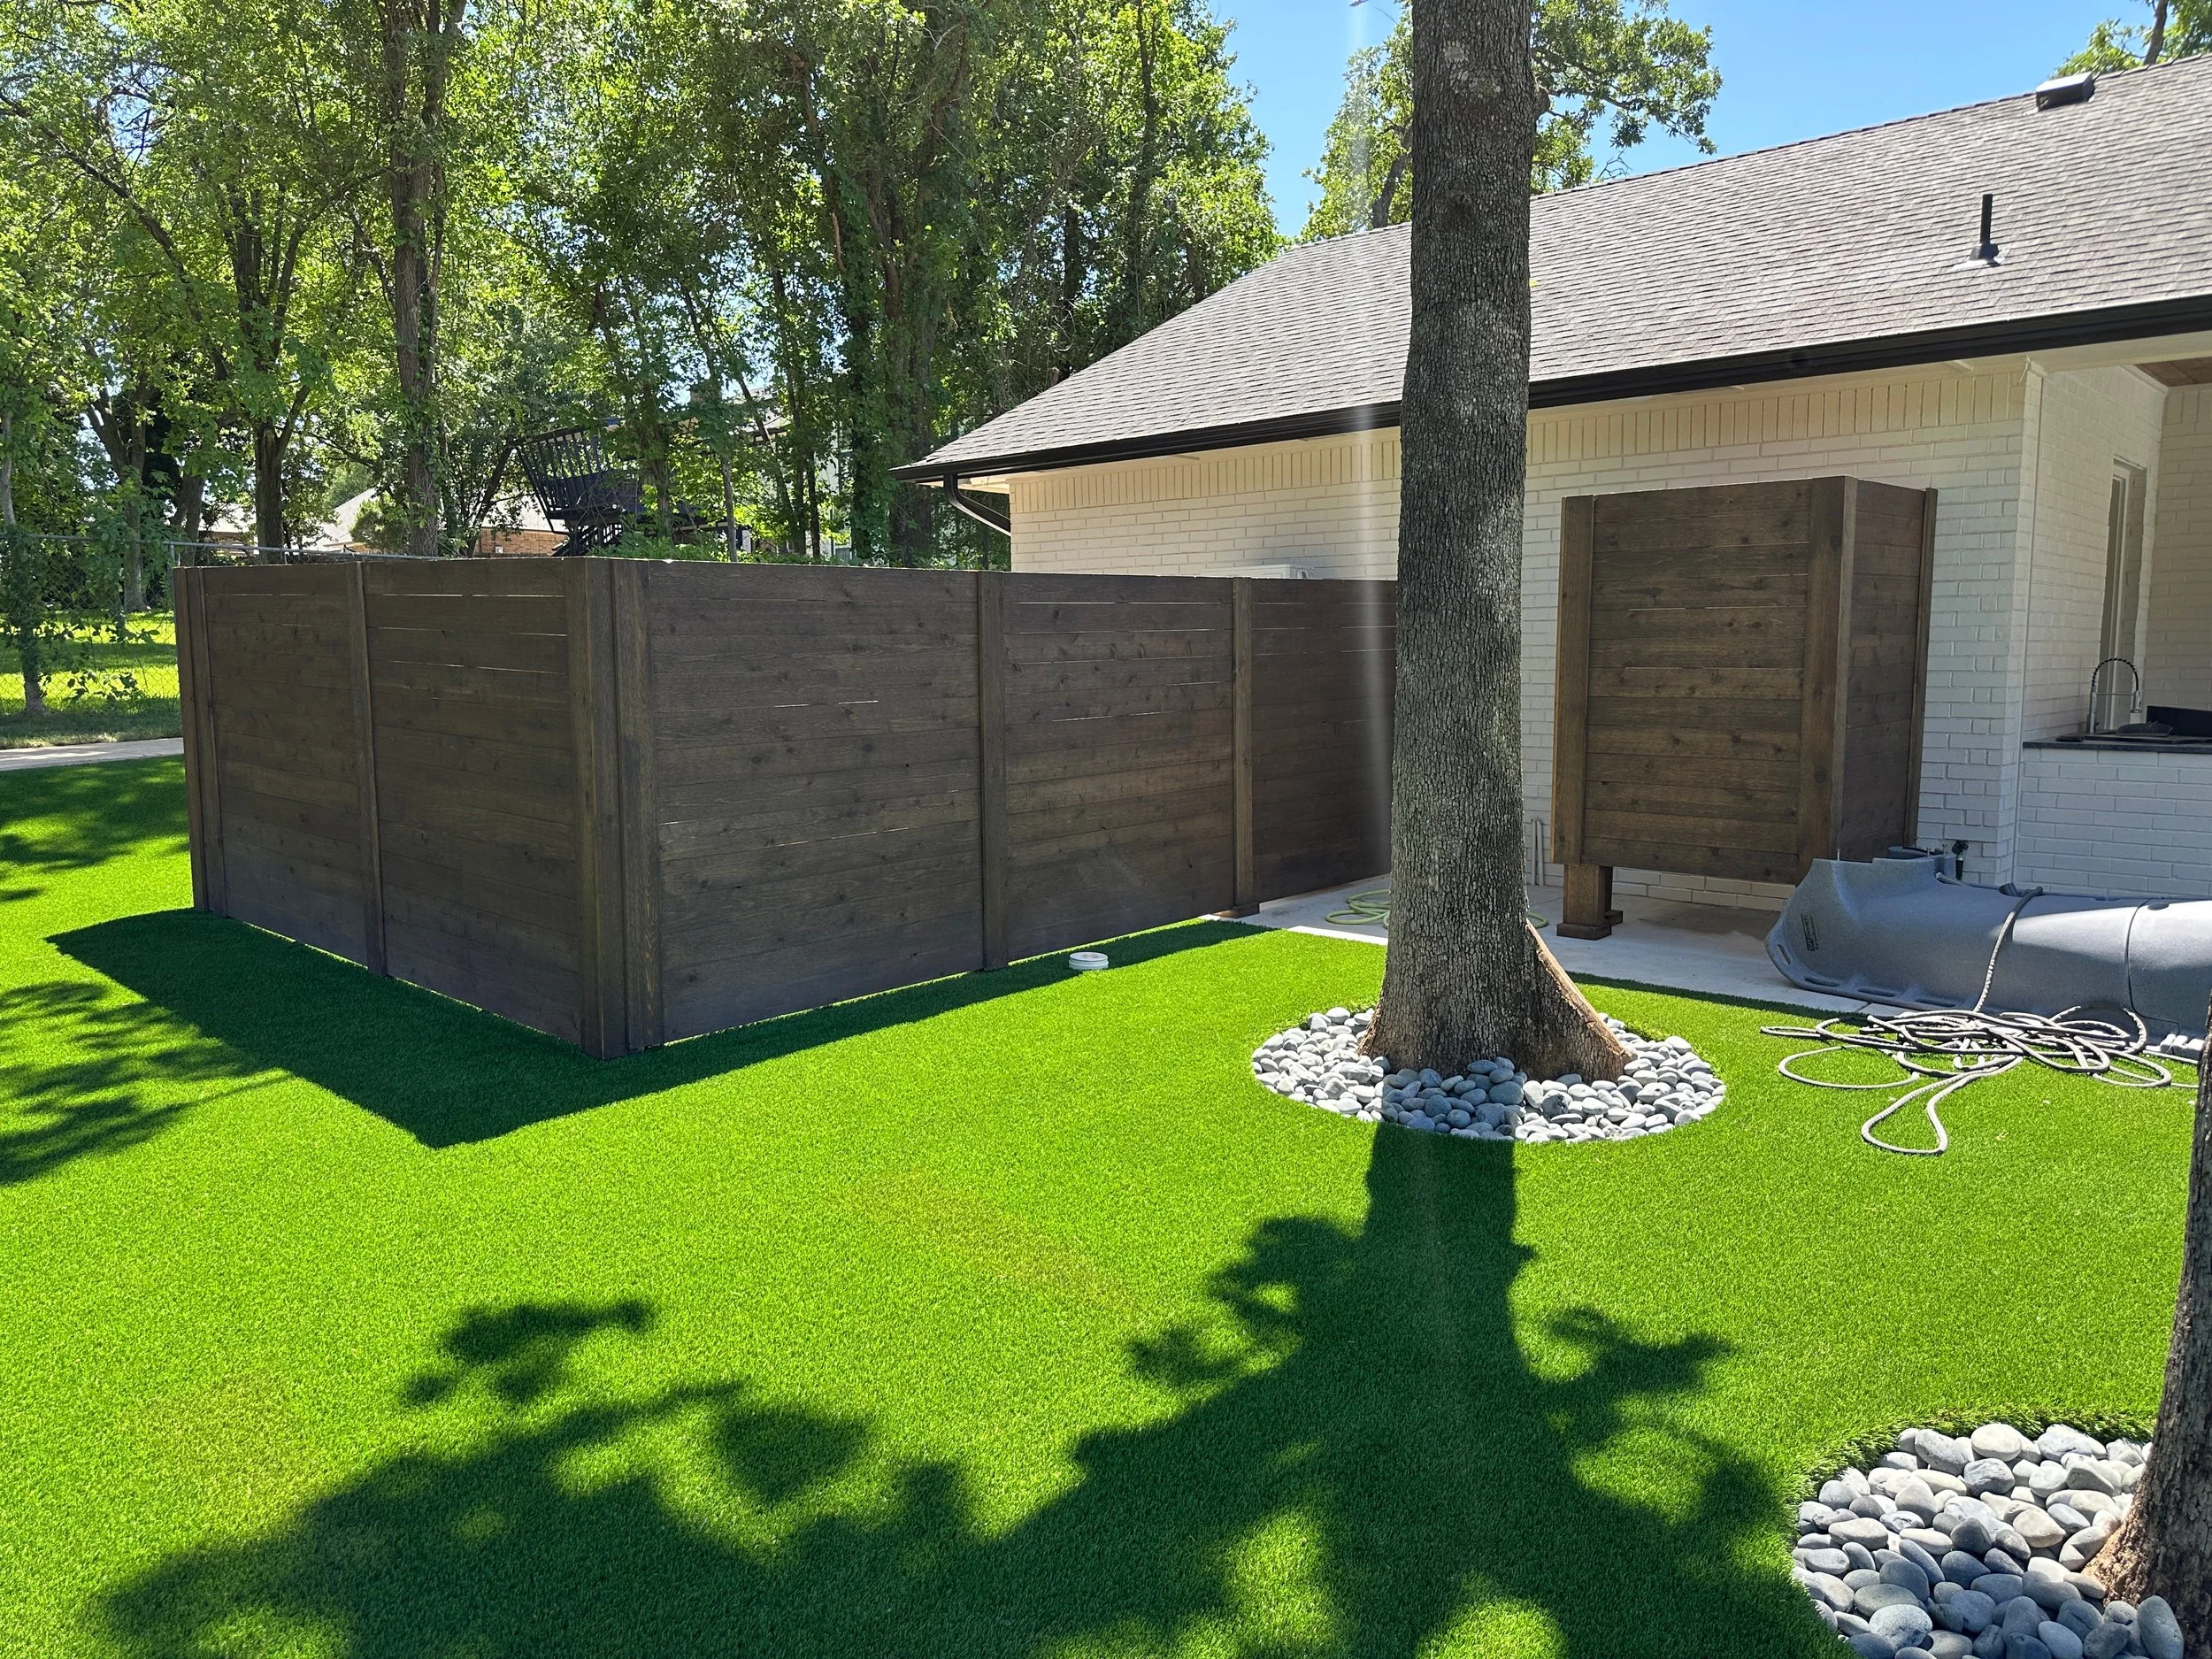
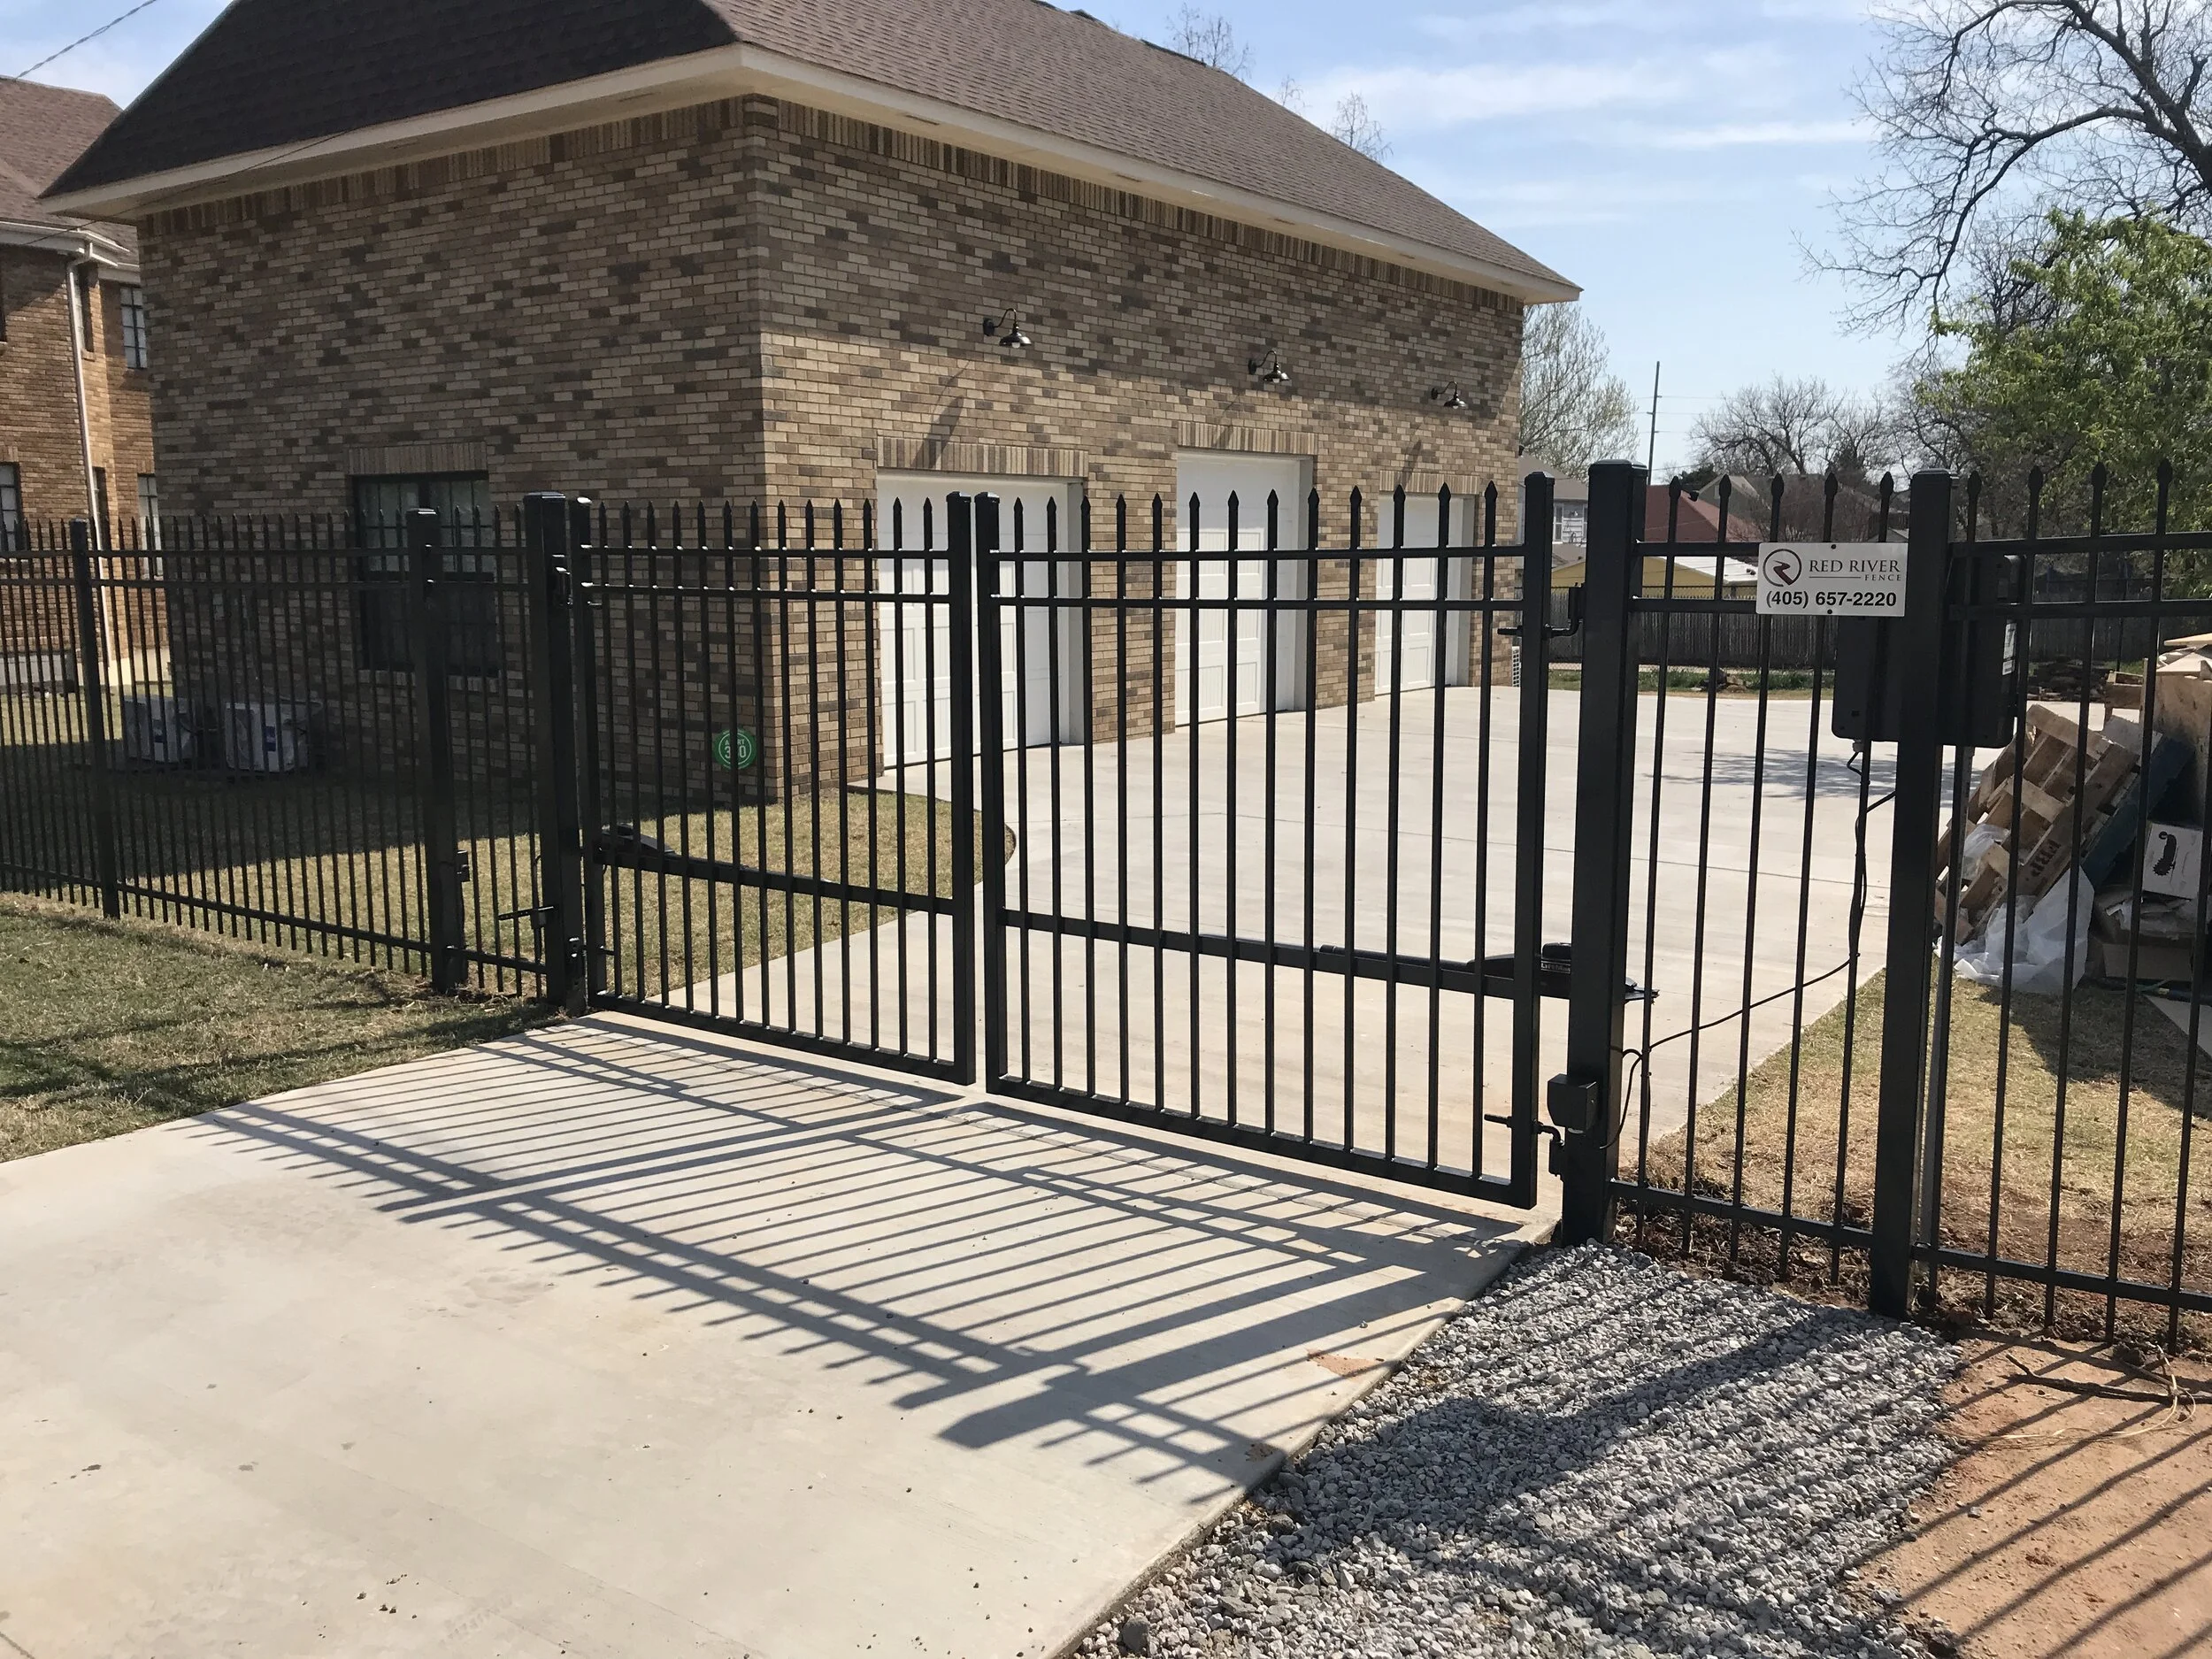
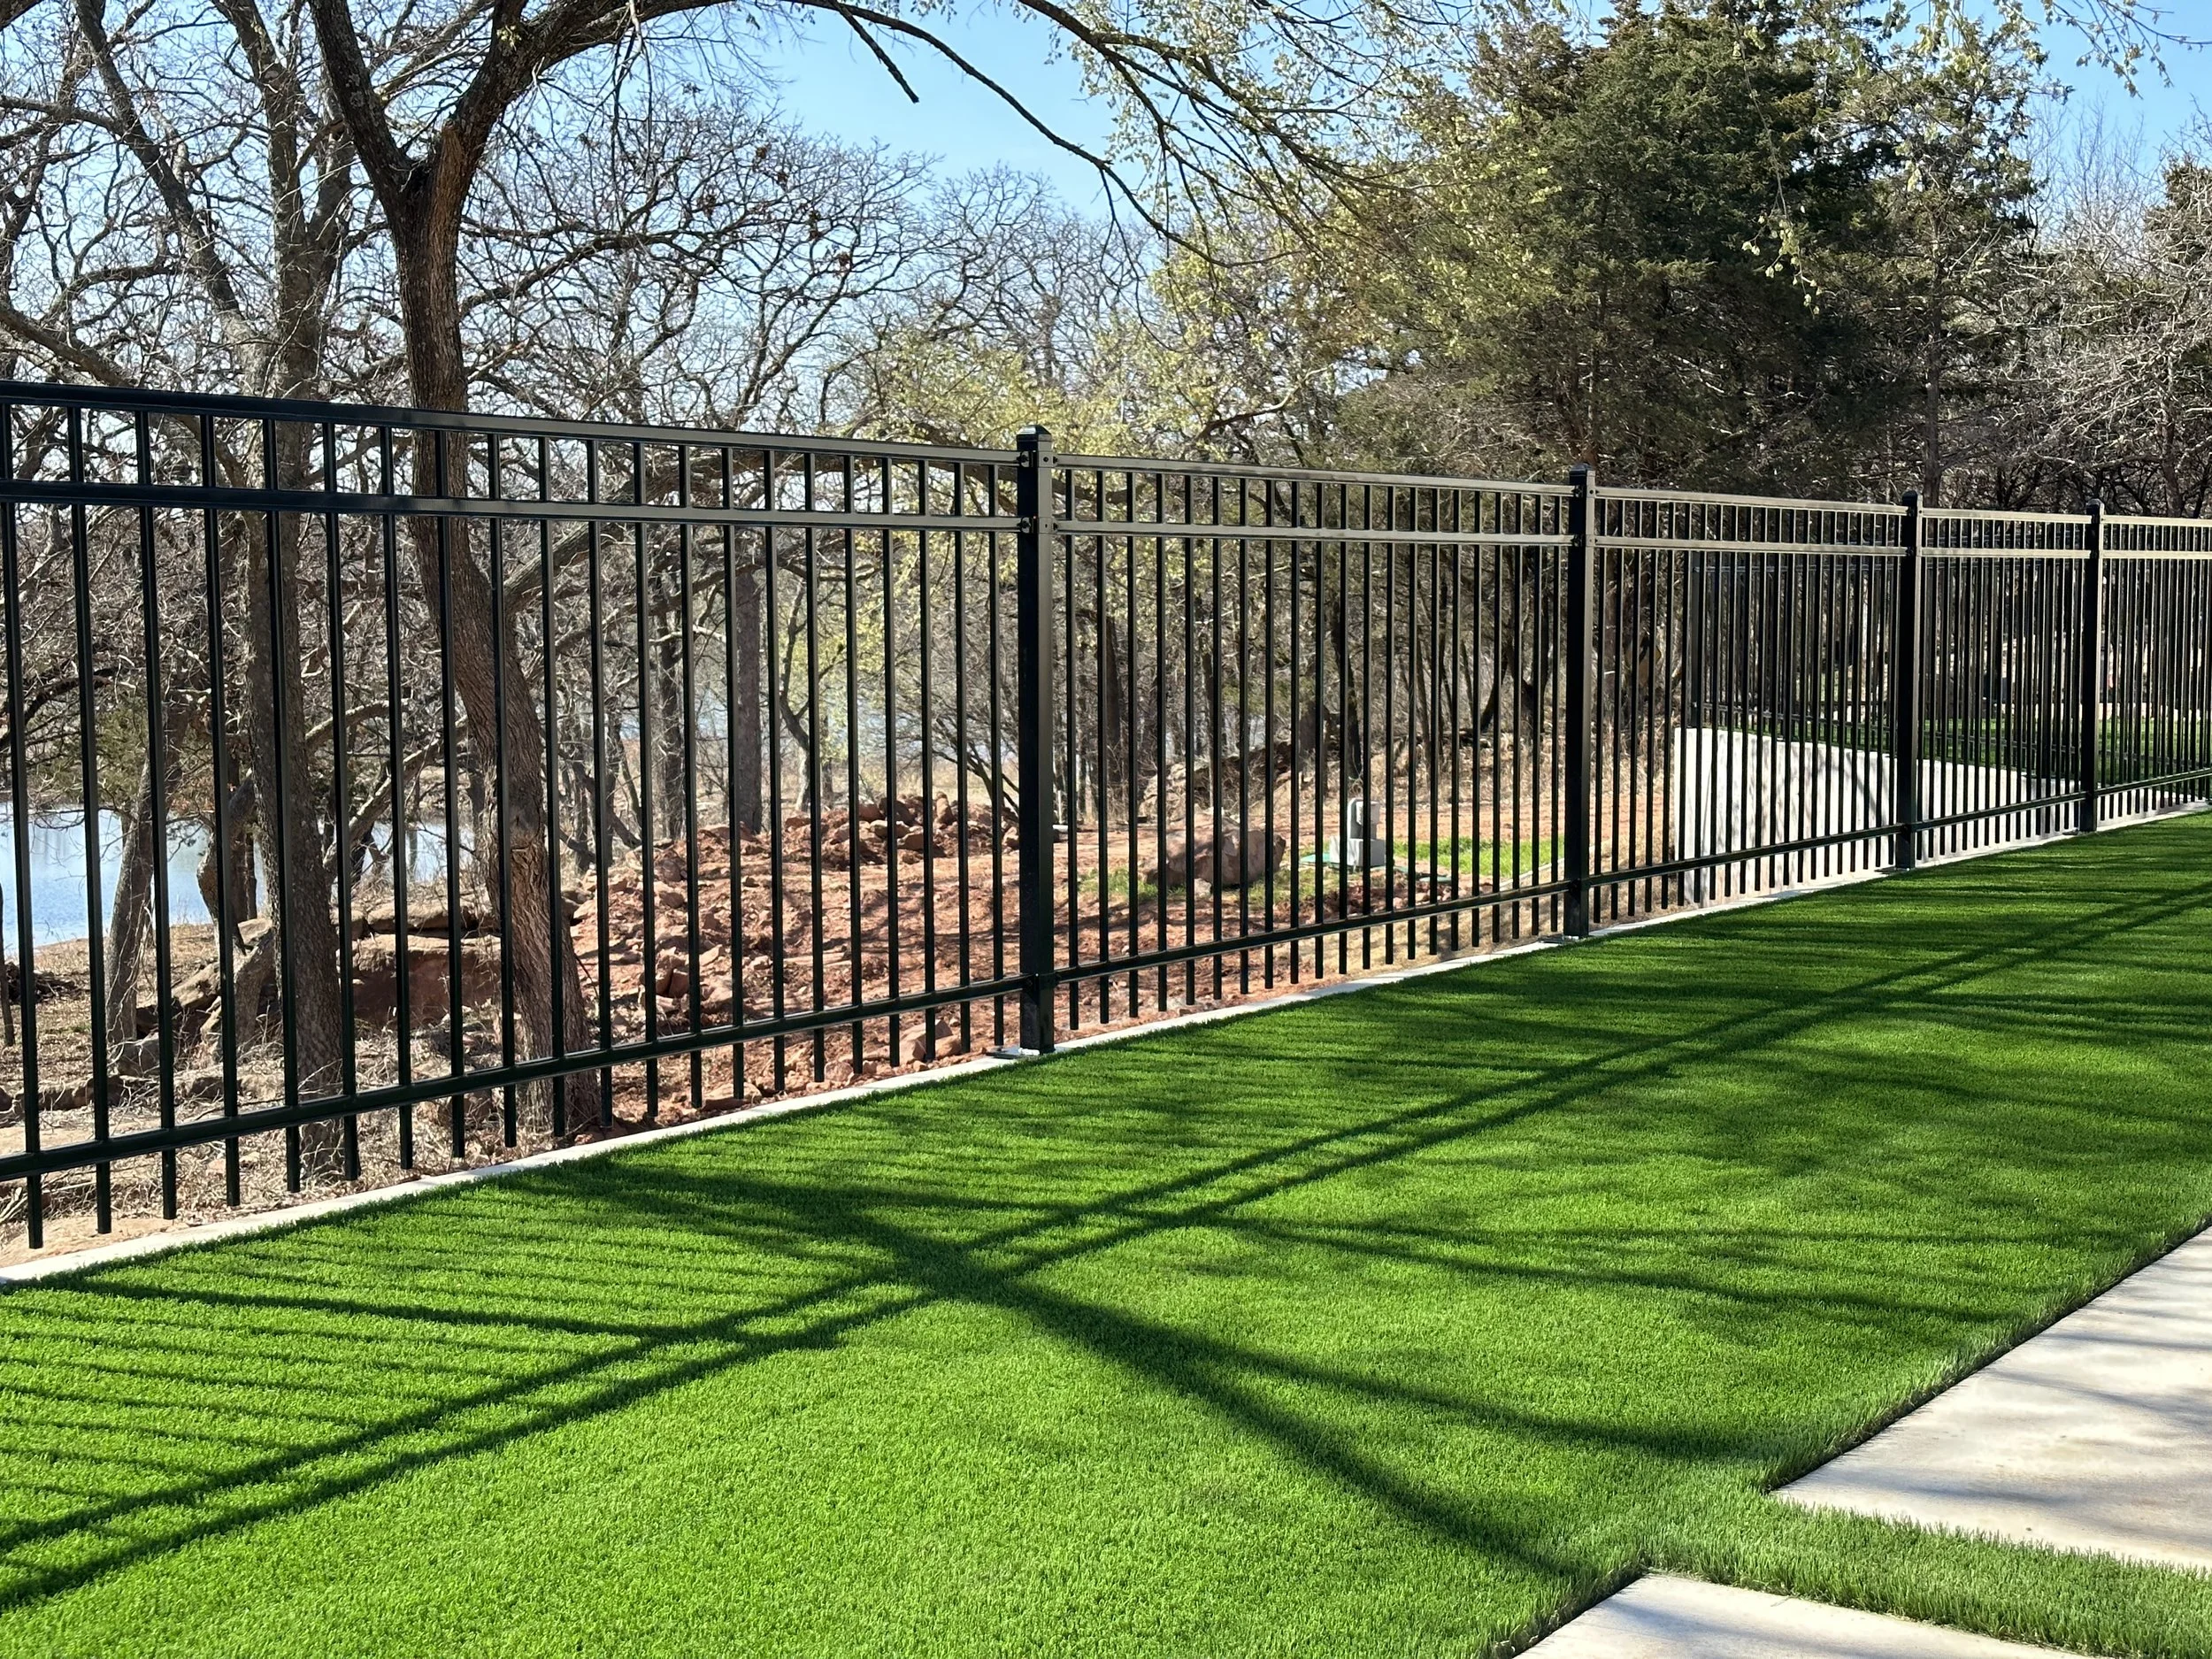
Perfect for Pool Safety Fence!
4’ Tall, 3 Rail, Ameristar, Montage Majestic Ornamental Fence


-
Red River Fence, LLC offers fence installation, replacement, and repairs across the Oklahoma City metro. Our primary services include:
Cedar privacy fences (new installs & replacements)
Ornamental / pool safety fences (Ameristar-style and similar)
Chain link fences (galvanized and black)
Corrugated steel privacy fences (modern metal + wood-frame styles)
Fence staining & sealing (to protect and extend fence life)
Gates (walk gates and driveway gates—new installs and repairs)
If you’re not sure what fence type fits your property, we can recommend the best option during your free estimate.
-
FAQ: How do I get started?
Getting started is simple:
Request a free estimate — call us or submit a quick form on our website.
We’ll measure via satellite — we will provide a screenshot of the measurement. On-site appointments are available as well.
You’ll get a clear written quote — straightforward pricing, no surprises. No fees or taxes added to the quote after the job is done.
Choose your schedule & financing (if needed) — we’ll lock in your install date.
Installation + final walkthrough — we build it right, then confirm everything looks and functions the way it should.
If you’re ready, the fastest way to start is to request your free estimate today.
-
Red River Fence, LLC is veteran-owned and operated, and we focus on doing the job the right way—not the fastest way. Here’s what sets us apart:
Driven posts for long-term strength — we drive posts deep into the ground for a sturdier fence that holds up better over time. Read our blog about driven posts.
Quality materials + clean craftsmanship — especially on our cedar privacy and ornamental/pool fences.
Straightforward, reliable communication — clear quotes, clear timelines, no runaround.
Proven local reputation — top-rated with 370+ Google reviews.
Convenient options — free estimates, financing available, and a military discount.
Bottom line: we build fences that look great and stay strong for years.
-
Most fence installs are completed in 1 day, depending on the size and scope of the project. Your timeline is mainly affected by:
Total linear footage
Fence type (cedar privacy, ornamental/pool, chain link, corrugated steel)
Number of gates and any custom work
Tear-out of an existing fence
Access and terrain (slope, tight spaces, rocky soil)
Weather (Oklahoma wind, rain, and frozen ground can slow progress)
Once we complete your free estimate, we’ll give you a realistic timeline and keep you updated through the install.
-
Yes—we help you get the pre-work details handled so your fence project goes smoothly.
Utility locates (OKIE / 811): We coordinate the locate request so underground lines are marked before digging or driving posts.
Permits: If your city requires a permit for your fence, we’ll let you know what’s needed and help point you in the right direction.
HOA guidelines: If you have an HOA, we can build to common HOA requirements and work from approved styles when provided.
Property lines: We recommend confirming property lines (survey, pins, or HOA/city records) before installation to avoid boundary issues.
If you’re unsure about any of the above, tell us during your free estimate and we’ll guide you through it.
-
You can reach Red River Fence, LLC a few easy ways:
Phone: (405) 657-2220
Website: redriverfenceok.com
Free Estimates: Call or submit a quote request online and we’ll get you scheduled quickly.
If you want the fastest response, calling is best, but the website form works great too.
-
Our pricing is project-based, not hourly. That means you get a clear, written quote upfront based on your exact fence—no surprises.
Pricing is mainly determined by:
Fence type (cedar privacy, ornamental/pool, chain link, corrugated steel, etc.)
Total linear footage
Height and style (picket spacing, cap & trim, upgraded materials)
Number of gates (walk gates, double drives, custom gates)
Site conditions (grade/slope, rocky soil, tear-out of old fence, access)
We provide free estimates, and we also offer financing for qualified customers.
-
Simple, straightforward, and professional.
Fast response + clear communication — we keep you updated from quote to completion.
Free on-site estimate — we measure, talk through options, and answer questions.
Upfront pricing — you get a clear written quote before any work starts.
Quality-first installation — we build it right, with driven posts and clean craftsmanship.
Respect for your property — tidy work areas, careful access, and a final walkthrough when we’re done.
Most customers tell us the best part is: no runaround—just a solid fence and a smooth process.
-
Yes. Red River Fence, LLC offers:
Financing options for qualified customers
Military discounts (thank you for your service)
Just let us know when you request your estimate, and we’ll walk you through the available options.
-
We stand behind our work with a workmanship warranty that covers installation-related issues, and we’ll clearly explain what’s included in your quote.
Workmanship warranty: Covers our installation and craftsmanship. Warranty length varies with fence type.
Materials: Material warranties (if applicable) vary by product and manufacturer, especially for items like ornamental fencing systems and hardware.
If you ever have a concern after the install, just reach out. Our goal is a fence you feel good about for the long haul.
Red River Fence, LLC is a veteran-owned and operated fencing company serving the Oklahoma City metro with professional fence installation and replacement built to last. We specialize in cedar privacy fences, ornamental/pool safety fencing, corrugated steel privacy fence, and chain link fencing, delivering clean craftsmanship, dependable scheduling, and straightforward communication from estimate to final walkthrough.
What sets us apart is how we build: our fence posts are driven deep into the ground (42 inches!) for long-term strength and stability—an installation method trusted for durability in Oklahoma soil and weather. Whether you need a new cedar privacy fence in the Oklahoma City metro area, a code-conscious pool fence, a 100% private corrugated privacy fence, or a secure chainlink fence, our team focuses on quality materials, expert installation, and a finished product that looks great for years.
If you’re looking for a top-rated fence contractor in OKC, Red River Fence is here to help with free estimates, financing options, and a team that treats your property with respect.
